
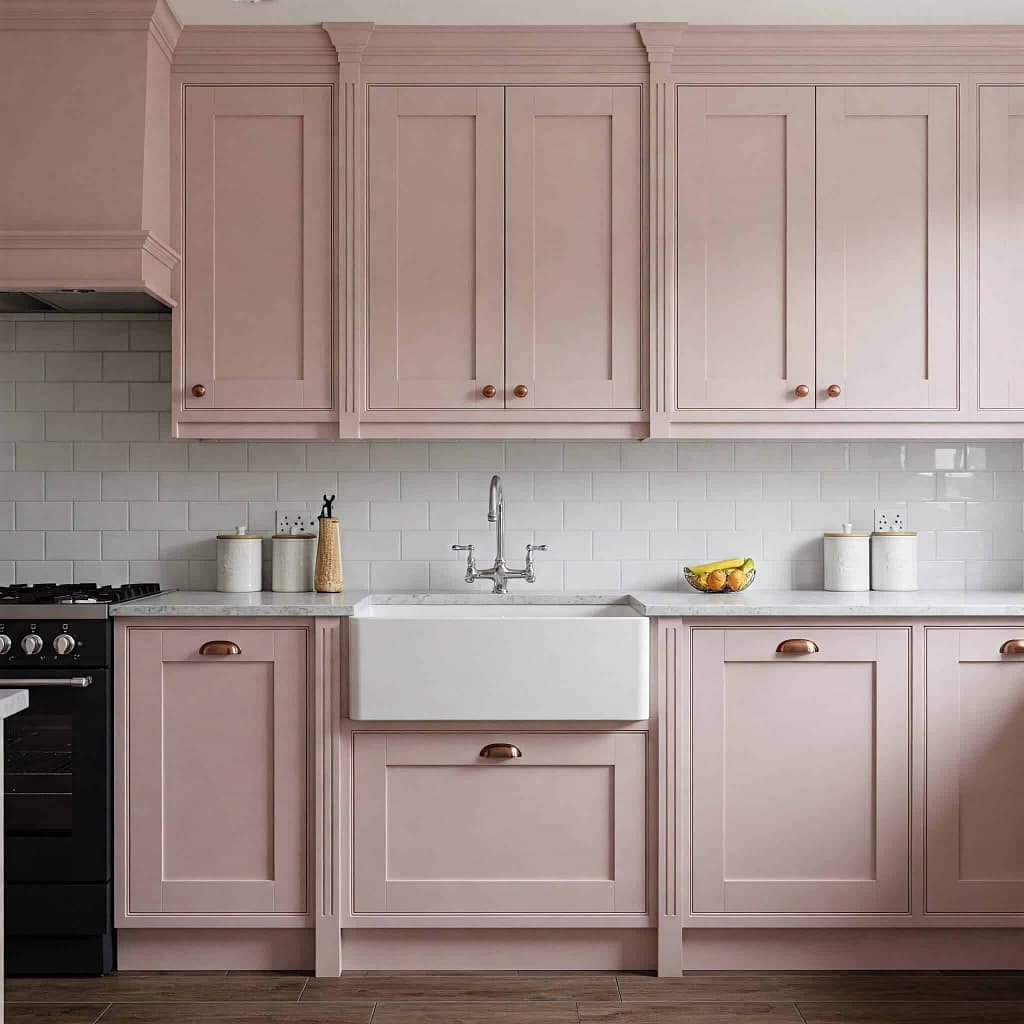
Elegant pink kitchen cabinets with farmhouse sink
Transform Your Kitchen with Hand-Painted Cupboards: A Step-by-Step Guide
Have you ever dreamed of a kitchen makeover that reflects your unique style, without the hefty price tag of a complete renovation? Hand-painting your kitchen cupboards is a creative, budget-friendly solution that can breathe new life into your space. Whether you’re a DIY enthusiast or a beginner eager to learn, this guide will inspire and empower you to transform your kitchen into a masterpiece. Let’s dive into the process step-by-step.
Step 1: Preparation is Key
The foundation of a flawless finish lies in thorough preparation. Follow these steps to get your cupboards ready for painting:
- Clear and Clean: Start by removing all cupboard doors, drawers, and hardware. Clean each surface with a degreasing solution to eliminate grease and grime.
- Sand the Surfaces: Lightly sand the cupboards to remove the old finish and create a surface the paint can adhere to. Use medium-grit sandpaper for the best results.
- Repair and Prime: Fill any dents or scratches with wood filler, then sand smooth. Apply a high-quality primer to ensure your paint adheres evenly and lasts longer.
Step 2: Choosing the Perfect Paint and Colour
The right paint and colour can make or break your project. Here’s how to make the best choice:
- Pick Durable Paint: Choose a paint specifically designed for cabinetry, such as acrylic or water-based enamel, which offers a hard-wearing, easy-to-clean finish.
- Find Your Colour: Think about how the colour will complement your kitchen’s overall style. Neutral tones like white and grey offer timeless appeal, while bold hues like navy or sage green add character and charm.
Step 3: The Painting Process
With preparation done, it’s time to start painting. Follow these tips for a professional finish:
- Set Up Your Workspace: Lay drop cloths and ensure good ventilation. Use painter’s tape to protect areas you don’t want painted.
- Apply the Paint: Use a high-quality brush or roller for smooth coverage. Apply thin, even coats, allowing each layer to dry completely before adding the next. This prevents drips and ensures a seamless finish.
- Be Patient: Don’t rush the process. Taking your time will yield a result that looks polished and professional.
Step 4: Adding the Finishing Touches
Once the paint has dried and you’re happy with the finish, it’s time for the final touches:
- Reattach Hardware: Replace old knobs and handles with stylish new ones that complement your cupboard’s look.
- Seal the Paint: Protect your work with a clear topcoat, which will enhance durability and resist stains.
- Reinstall Cupboards: Reattach the doors and drawers carefully to avoid scratching your fresh paint.
Bring Your Vision to Life
Transforming your kitchen with hand-painted cupboards is a rewarding project that allows you to express your creativity while enhancing your home. If you’re inspired but unsure where to start, G&E Interior Painting can help bring your vision to life. Our expertise in hand-painted kitchens ensures a flawless finish that you’ll enjoy for years to come.
Ready to revamp your kitchen? Visit G&E Interior Painting to explore our services and get started on your journey to a stunning kitchen makeover!
📞 Call: 07598 674581
📩 Email: interiorpainter21@gmail.com
📍 Based in Portstewart – Serving the Causeway Coast & Glens